EFFECTIVE: 4/12/2011 · REVISED: 3/18/2020
Fonts / Typography
When working in the main content areas of your Encompass website, you will seldom (if ever) have a reason to use the font format tools. Instead, each site has a predetermined set of type styles.
Off limits! Do not use these tools!

Reasons for using pre-determined styles
- Consistency of Brand – Each of our sites has its own campus or system branding, but they are also unified by certain graphical elements, including typography. The goal was to create a “family” of UT alumni websites, and we need to protect that unity.
- Cleanliness – The pre-determined styles control not only font selection, weight, and color but also leading (line height) and kerning (spacing between letters). Playing with these characteristics “muddies” up a page.
- Search Optimization – When search engines review the content of a page, they prioritize text that has been made a header. Bolding “Student Programs” doesn’t teach a search engine very much, but if “Student Programs” is a Heading1, those are the two most important words on the page.
- Universal Changes – If we use styles consistently, we can make site-wide changes in seconds rather than hours. For example, if we decide we no longer want Heading3 to be bolded, we can change a single line of code rather than having to edit every individual page.
Choosing the right style
This is the dropdown box you’re looking for:

By default, it will say “Normal.” If you’ve copied and pasted from another website, it might instead say “Paragraph Style.” This is the standard style that should be used for all basic content.
Headings
Headings should be used first as an organizing tool. Think of each page as if it were broken down into a traditional content outline:
- Heading 1
- Heading 2
- Heading 2
- Heading 3
- Heading 3
- Heading 4
- Heading 4
- Heading 2
- Heading 2
Heading 1 – The title of the page. Encompass will automatically insert the name of each page between H1 tags. In general, you should never select Heading1 from the dropdown, because there should only be one H1 on each page.
Heading 2 – An H2 is a sub-section of an H1. Use Heading2 to create distinct sections on a single page.
Heading 3 – An H3 is a sub-section of an H2. In general, you should never use Heading3 unless it falls under a Heading2.
Heading 4 & Heading 5 – These follow the same pattern. H4 is a sub-section of H3; H5 is a sub-section of H4. In general, you’ll very seldom have a reason to use Heading4 or Heading5.
In-line emphasis
- Italicize words for emphasis. For example: “There was never a day that I did not look forward to teaching.”
- Bold words to call attention to them. For example: “Chapter forms are due on March 15.”
- Never underline or re-color text. Users will think it’s a hyperlink.
Photos and Images
Encompass makes it very easy to upload a photo and place it in a content area, but properly adding and formatting an image for a website takes a little more work.
Sizing Matters
The size of a web image can be controlled in two ways:
Actual file size
The actual size of an image is measured in pixels. For example, a photo that is 1000 pixels wide by 800 pixels tall will be approximately 150kb. The same photo shrunk to 100×80 pixels is less than 5kb. The more pixels, the more sharpness, detail, and clarity.
Coded dimensions
Images are inserted into a webpage by an HTML tag. For example, the following:
<img src=”flower.jpg” width=”600” height=”480” />
Will display as:

But the same image will display very differently if it’s called by the following code:
<img src=”flower.jpg” width=”600” height=”180” />

Here’s the important part: Even though the second line of code is telling the image to only display 180 pixels tall, the entire photo is downloaded from the web server to the user’s browser. Which means that even the tiny image below is 40kb:
<img src=”flower.jpg” width=”10” height=”8” />

Here’s the other important part: A website image will also be distorted if the actual file size is significantly smaller than the coded dimension. For example, if the actual flower photo is 100×80 pixels (5kb) and is set to display at 1000×800 pixels, it will look like this:

Best practice: Actual file size should equal the coded dimensions.
In order to avoid distortion and the downloading of unnecessarily large images, you should always crop photos to the exact size that you wish for them to be displayed.
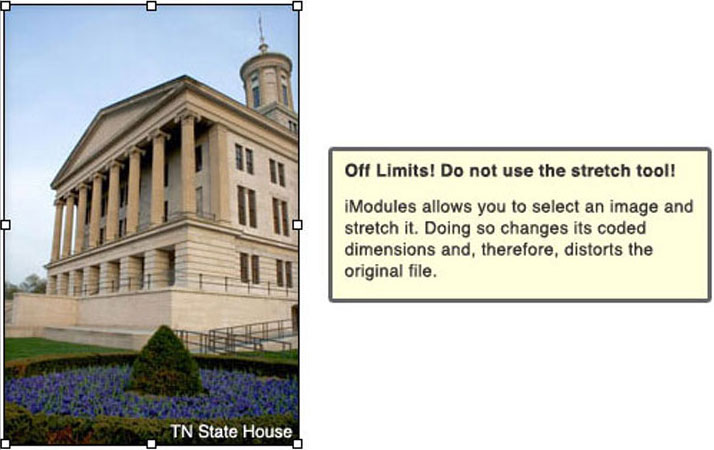
And don’t stretch images either.
Sizing, Formatting, and Positioning Images
So, the goal is to crop images to the exact size you want them to display before uploading them into Encompass. How big should they be?
Maximum width
The Encompass template pages have predetermined content areas that are set to specific widths. If you exceed the maximum width, you’ll probably break the page (especially if an alum is viewing the site in an old web browser). So don’t exceed the maximum width.
Warning: Borders add width
When you insert an image, you’ll have the option of adding a solid grey border around it (more on this below). The border will add 10 pixels to the total width, so remember to compensate by making the maximum width 650 pixels for the one-column template and 410 pixels for the two-column template.
Maximum/suggested height
Technically, there’s no such thing as maximum height. I could insert an image that is 10,000 pixels tall and make the user scroll and scroll and scroll to see it all. However, as a general rule try to avoid images that are taller than 350 pixels. Any larger than that and alumni who are using older monitors with lower screen resolutions will have to scroll to see the bottom of the image. For horizontal images, the suggested height is 230 pixels.
Image Properties
Encompass allows us to adjust the properties of an image before inserting it, but, in general, we won’t be using these tools.
- Width & Height: Adjusting these will change the image’s coded dimensions and will distort it.
- Border Color & Width: We’ll use styles to control this.
- Alt Text/Long Description: These fields determine what seeing-impaired alumni will hear when they browse our sites with assistive technology. It’s important to include a text description of each photo you insert.
- Image Alignment & Margin: We’ll use styles to control this.
- CSS Class: This doesn’t work like one would assume it should, so just ignore it.
Styling Photos
Why are we styling photos instead of tweaking them via the properties editor? For the same reasons we are using styles to control typography: consistency, cleanliness, and the ease of making universal changes.
Step 1: Insert the photo and use the properties editor to add Alt Text and a Long Description.
Step 2: Switch from the Design view to the HTML view. These buttons can be found at the bottom of the content editing screen.

Step 3: Where the photo has been inserted, you’ll see a line of code like this:
<img longdesc=”A photo of the Tennessee capitol building” alt=”A photo of the Tennessee capitol building” style=”” src=”/s/1341/images/editor/about-legislative.jpg”>
Step 4: Add the appropriate class.
- photo-border – puts a grey border around the image
- photo-left – floats the image to the left and adds a 15-pixel margin to the right and bottom
- photo-left-border – floats the image to the left and adds a margin and border
- photo-right – floats the image to the right and adds a 15-pixel margin to the left and bottom
- photo-right-border – floats the image to the right and adds a margin and border
The new line of code will look like this:
<img longdesc=”A photo of the Tennessee capitol building” alt=”A photo of the Tennessee capitol building” style=”” src=”/s/1341/images/editor/about-legislative.jpg” class=”photo-rightborder”>
Step 5: Click “Save.”